Successful caulking installation is essential to maintain good thermal and acoustic insulation of your home, as well as to prevent water infiltration and air leakage. However, many mistakes can be made when installing caulk, which can lead to costly problems in the long run. In this article, we’ll look at the most common mistakes to avoid when installing caulking to help you ensure a successful and long-lasting installation.
Mistake #1: Choosing the wrong type of caulking

Choosing the right type of caulking is essential for a successful installation. However, it’s easy to make a mistake by choosing the wrong type of caulking for your project. Some people may be tempted to use silicone-based caulking because it is easy to apply and weather-resistant. However, if you install this type of caulk around brick, stone, or other porous materials, it may not adhere properly and eventually peel off.
Other people may be tempted to use urethane-based caulk, as it is more flexible than silicone and can better withstand construction movements. However, if you use this type of caulk in areas that are highly exposed to the elements, it can crack and degrade faster than silicone.
Choosing the right type of caulk depends on the material it will be applied to and the local weather conditions. So, it’s important to do thorough research and consult a professional if you have any doubts about choosing the most appropriate caulking.
Mistake #2: Not Properly Cleaning the Surface Before Installation
One of the most common mistakes when installing caulking is not properly cleaning the surface on which the caulk will be applied. It is crucial to remove any dirt, dust, grease, and other residues that can compromise the adhesion of the caulk to the surface. If the surface is not properly cleaned, the caulk may not adhere properly, which can lead to air and water leakage. To clean the surface, it is recommended to use isopropyl alcohol or a mild cleaner to remove all dirt and grease. In addition, it is important to ensure that the surface is dry before the application of caulking. If the surface is wet, the caulk will not be able to adhere properly, which can also lead to leaks. It is recommended that the surface be allowed to dry completely before starting the caulking installation. Taking the time to properly clean the surface before caulking is installed may seem tedious, but it can prevent major problems in the future.Mistake #3: Not using the proper tools for installation
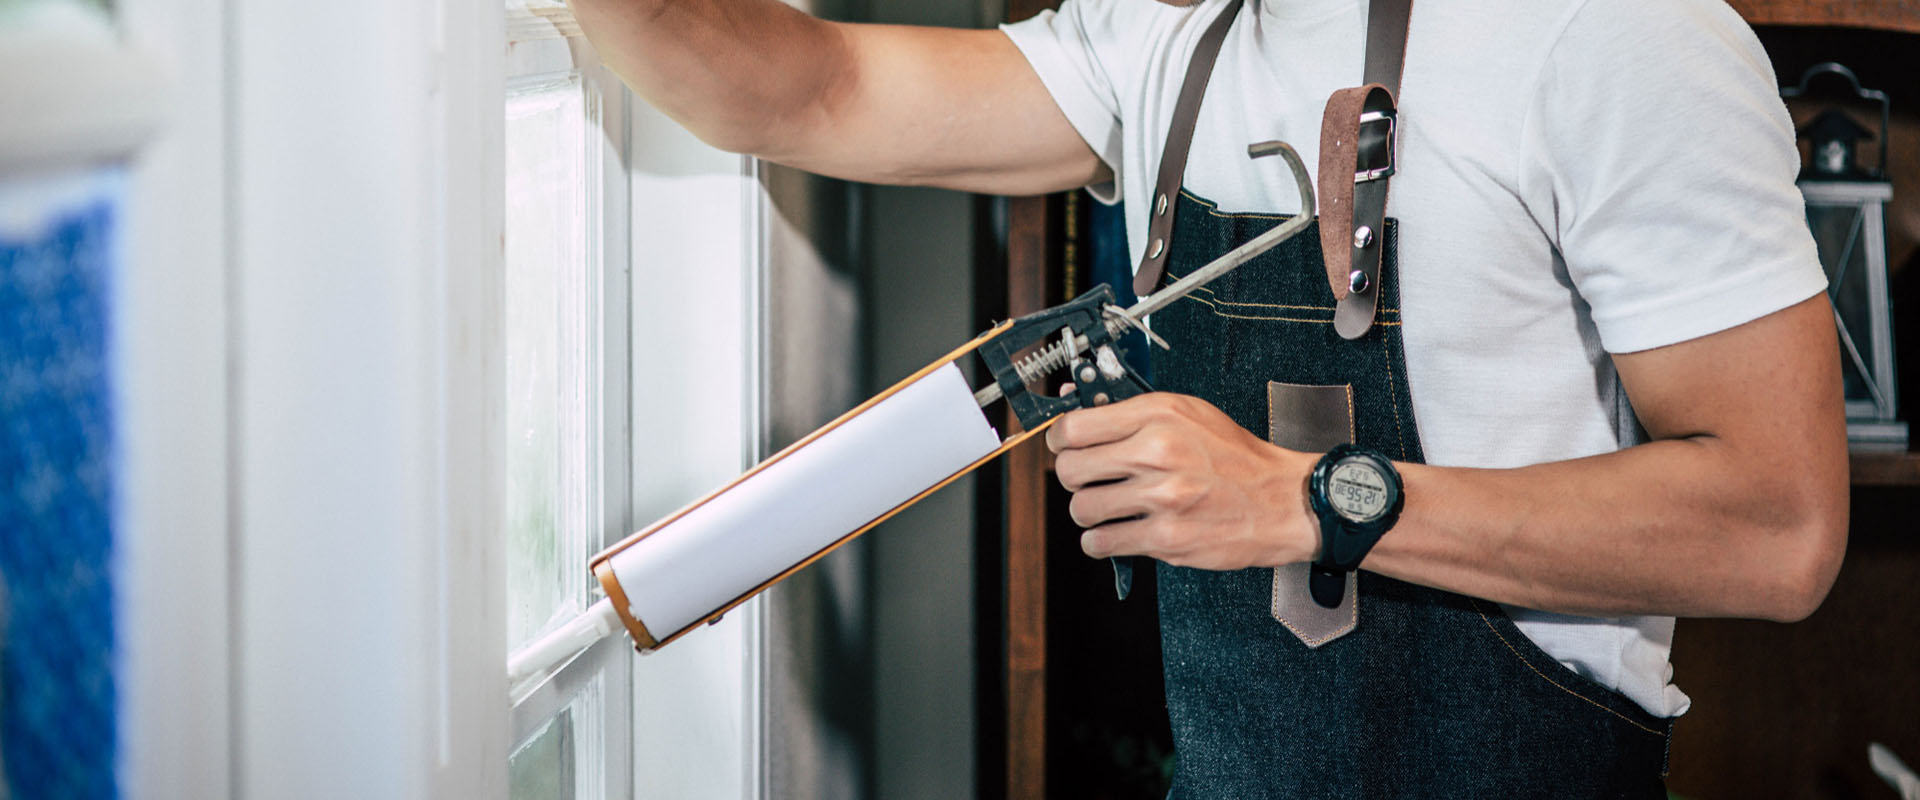
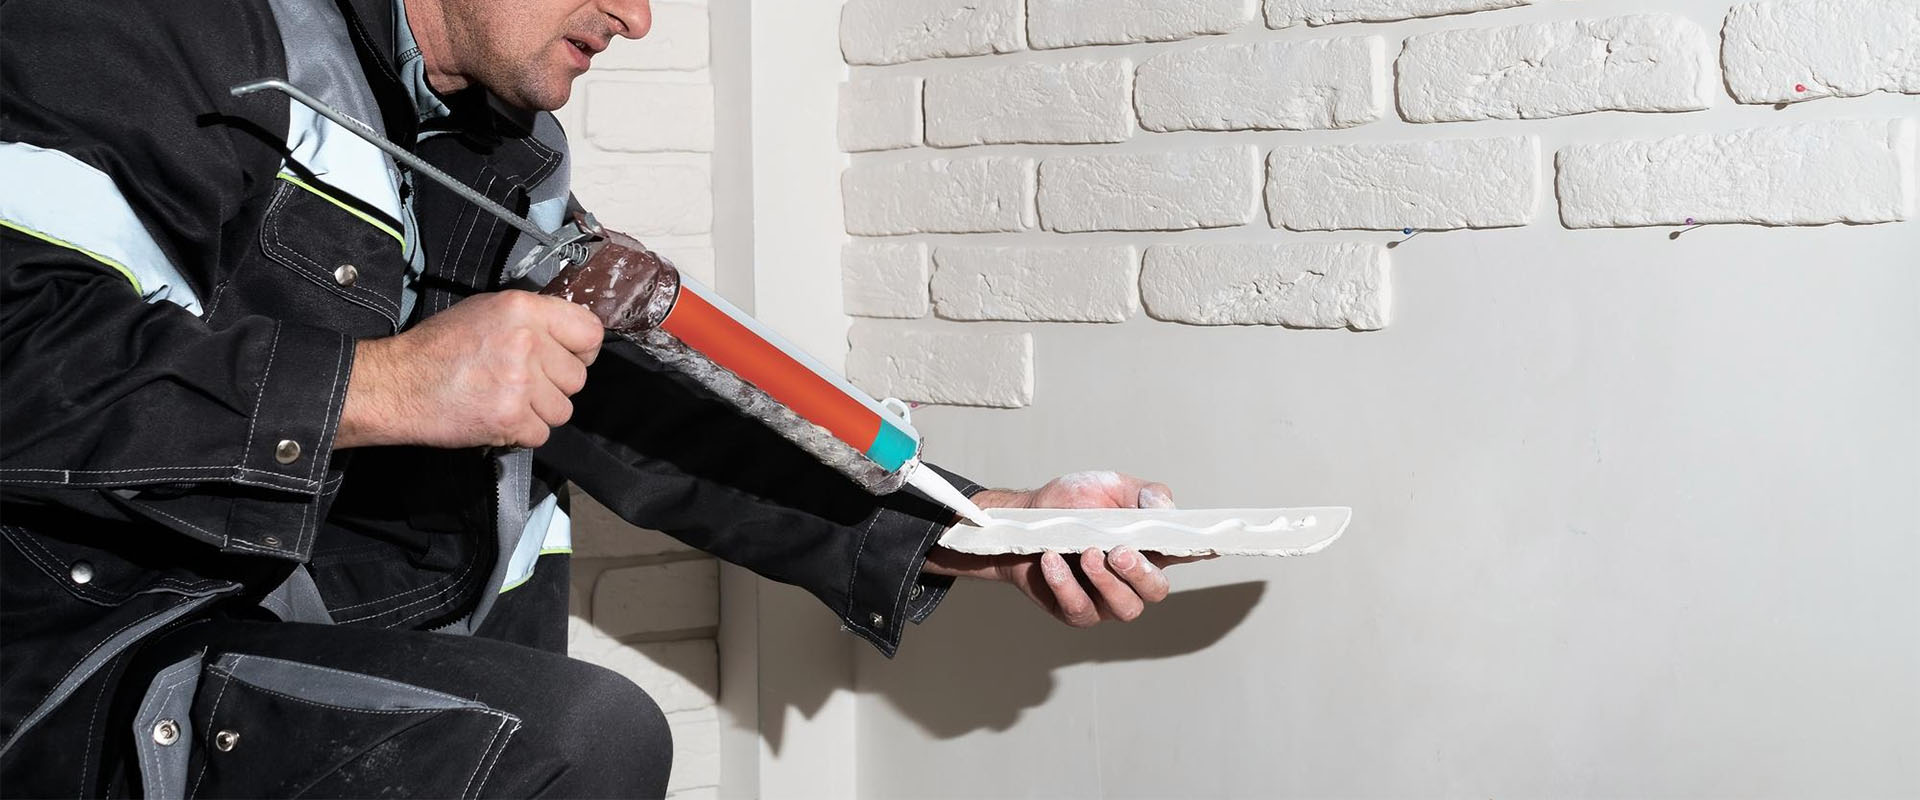
Installing caulking may seem simple, but it requires the use of the proper tools. One of the most common mistakes is not using the right tools for installation. Indeed, the use of inadequate tools can affect the quality of the installation, which can lead to air and water leaks, or even damage to the surface to be caulked.
It is therefore essential to have the right tools before starting the installation. Basic tools include a caulking kit, caulking gun, spatula, utility knife, and surface cleaner. Depending on the type of caulking chosen, other tools may be required.
It is also important to have a clear understanding of how to use these tools. For example, the caulking gun should be used accurately to prevent spills and mess. The spatula must be handled with care to avoid damaging the surface to be caulked.
By using the proper tools and handling them correctly, you can ensure a successful caulking installation that will last for years.
Mistake #4: Not applying the right amount of caulking
When installing caulking, it is essential to ensure that the right amount of product is applied. If you apply too little caulking, cracks and gaps will not be properly filled, leaving the door or window vulnerable to drafts and water infiltration. On the other hand, if you apply too much caulking, you risk wasting product and creating an unsightly overload that could obstruct the movement of the window or door. Therefore, it is important to follow the manufacturer’s instructions for how much caulk to use for each specific project. It is also important to apply caulking evenly and evenly. Use a suitable tool to smooth the caulk to ensure an aesthetically pleasing and professional finish. If you are unsure about how much caulk to use or how to apply it correctly, don’t hesitate to call a professional to help you.Mistake #5: Not respecting the recommended drying times
When installing caulk, it is important to adhere to the manufacturer’s recommended drying times. This is because if the caulk has not dried enough before being exposed to extreme weather conditions, it is likely to crack and peel off quickly. The drying time will depend on the type of caulk you use, the outside temperature, humidity and ventilation of the work area. Therefore, it is important to read the manufacturer’s instructions carefully to ensure that you are following the recommended drying times. If you don’t follow the drying times, you may have to reinstall the caulk faster than expected, which can lead to additional costs and wasted time. So be sure to plan your caulk installation based on recommended drying times to avoid this problem.Mistake #6: Not Smoothing Caulk Properly
When installing caulk, it is important to properly smooth the caulk line to ensure that it is uniform and waterproof. However, this step is often overlooked or poorly executed. It is recommended to use a smoothing tool to create a smooth, even surface along the caulk line. If you don’t smooth the caulk properly, air bubbles could form below the surface, reducing the effectiveness of the caulking and leaving gaps for drafts and moisture. Also, be sure to clean your straightening tool regularly to avoid the buildup of dried caulk that could cause irregularities during future application. In short, taking the time to properly smooth the caulking can make a big difference in the quality of the installation and performance of your caulk.Mistake #7: Not protecting caulking from the elements
When installing caulk, it is important to protect the material from the elements. This is because exposure to UV rays, rain and wind can damage the caulk and reduce its lifespan. It is therefore essential to take the necessary measures to protect the caulking from the elements. To do this, you can apply a protective coat of paint to the caulk once it is completely dry. This coat of paint can help protect the caulk from UV rays and rain. You can also install air vents to prevent condensation on the inside of the wall, which can damage the caulking. Finally, remember that caulking is not an indestructible material. It can crack or peel off over time, even if it is properly installed and protected from the elements. If you notice any signs of wear and tear, don’t hesitate to replace the caulking to prevent further damage to your home.Mistake #8: Not Installing Expansion Joints
When installing caulking, it is important to allow for the possibility of material movement. This is because materials expand and contract with variations in temperature and humidity. If this expansion is not taken into account, the caulk may crack and peel off. To prevent this, it is essential to install expansion joints around windows, doors, and other openings. These joints allow materials to move without damaging the caulk. If you fail to install expansion joints, you may need to replace the caulking sooner than expected. Indeed, without these joints, the caulking will be subjected to constant pressure which will weaken and damage it more quickly. In summary, to avoid the mistake of not installing expansion joints when installing caulking, it is important to allow for the expansion and contraction of materials when installing these joints. This will extend the life of your caulk and avoid costly repairs in the future.Mistake #9: Not Completely Replacing Old Caulking
 When installing new caulking, it is important to remove the old one completely. This is because leaving behind old pieces of caulk can create air pockets that will reduce the effectiveness of your new caulk. Also, if the old caulking is damaged, it can lead to air and water leaks.
It is therefore essential to take the time to completely remove the old caulking before installing the new one. Also, be sure to clean the surface thoroughly to remove any traces of the old caulk and so that the new one can adhere properly.
If you are unsure of the proper method to remove old caulk, consult a professional for assistance. It may also be a good idea to have an expert check that all the old caulking has been removed before installing the new caulking.
Mistake #10: Not regularly checking the condition of the installed caulking
Once the caulking has been installed, it is important to check its condition regularly to ensure that it is still performing its function optimally. Caulking can deteriorate over time, due to exposure to weather, UV or other environmental factors. Therefore, it is important to monitor its condition regularly and take the necessary steps to repair or replace it if necessary. The frequency of checking will depend on several factors such as the type of caulking, local weather conditions, and the amount of exposure to the elements. It is recommended to check the caulking at least once a year, but it is also advisable to do it more often if you observe signs of deterioration such as those mentioned earlier in this article. When checking caulk, carefully examine the entire surface for any signs of cracking, sagging, over-hardening, or deterioration. If you notice any problems, it is important to take prompt action to repair or replace them. In conclusion, regularly checking the condition of the caulking is an essential step in maintaining the performance of your caulking installation. By following the recommendations in this guide and taking care of your caulking, you can maximize the life of your installation and preserve the integrity of your home.How to avoid these mistakes and ensure a successful installation
Installing caulking may seem simple at first glance, but there are several common mistakes that can occur if you’re not careful. Fortunately, it is possible to avoid them by following a few simple tips.
First of all, it is important to choose the right type of caulking according to the specific needs of your home. There are different types of caulking, each with its advantages and disadvantages depending on the location and nature of the cracks or leaks.
Next, be sure to thoroughly clean the surface to be caulked before installation. Dirty or dusty surfaces can prevent caulk from adhering properly, which can lead to leaks.
Also, use the proper tools for installation, such as a spatula and caulking gun, for optimal results.
Also, be sure to apply the right amount of caulking to prevent leaks and air or water infiltration. Remember to follow the recommended drying times and smooth the caulk properly to achieve a smooth, even finish.
Finally, regularly check the condition of the installed caulking and replace it as needed to avoid leakage and insulation problems. With these simple tips, you can avoid common mistakes and ensure a successful installation of your caulk.


