When the caulking joints on your windows show signs of wear and tear, it’s time to consider replacing these window seals in order to improve the thermal insulation efficiency of your home. Instead of replacing your windows entirely, start by considering restoring the caulking joints. This preventive approach is essential to maximize the effectiveness of your insulation. Fortunately, there are simple and affordable methods to accomplish this task. In this article, we’ll walk you through the steps needed to replace your window seals, ensuring your home is insulated.
How to Replace a Window Gasket Effectively
When you’re considering replacing the caulking gasket on your windows, there are some clever methods to make it easier. You can use a welding torch or heat gun to soften the old caulk, making it easier to remove. Start by identifying the smoothest surface to caulk and detach it first. For maximum effectiveness, insert the blade of your knife under the gasket and push it parallel along its entire length to clear the gasket from the surface.
In this step, you can use a putty knife, an electric knife, or a model with a retractable blade. However, be careful when handling these tools, as they can be sharp. It is essential to handle these tools with care to avoid injury and damage to the surface. If the joints peel off into strips, the task will be simpler. All you have to do is pull the loose part of the caulk along its entire length, then remove any residual pieces using long-nose pliers.
Be well equipped to restore a window seal

Changing a window cold cut is an easy task in itself, but you have to equip yourself properly to get by. Indeed, caulking seals are usually made of ADFAST or ADSEAL silicone. They become too strong after a while. This is due to the fact that they are exposed to UV rays and bad weather. To detach them, you will need blades. The best recommendations are:
- the knife with a retractable blade;
- the electric knife;
- the putty knife.
You can use either of these blades to remove the caulk, even on thermos glass. For the small pieces that will remain, provide long-spout pliers. Other equipment to be provided are the brush, a clean cloth, a cloth and alcohol. The brush should ideally have rigid bristles. All these elements will allow you to clean the caulk. Don’t forget to also provide a ladder if you have to work at height. It would have to be strong enough to protect you from falls.
Proceed to cleaning

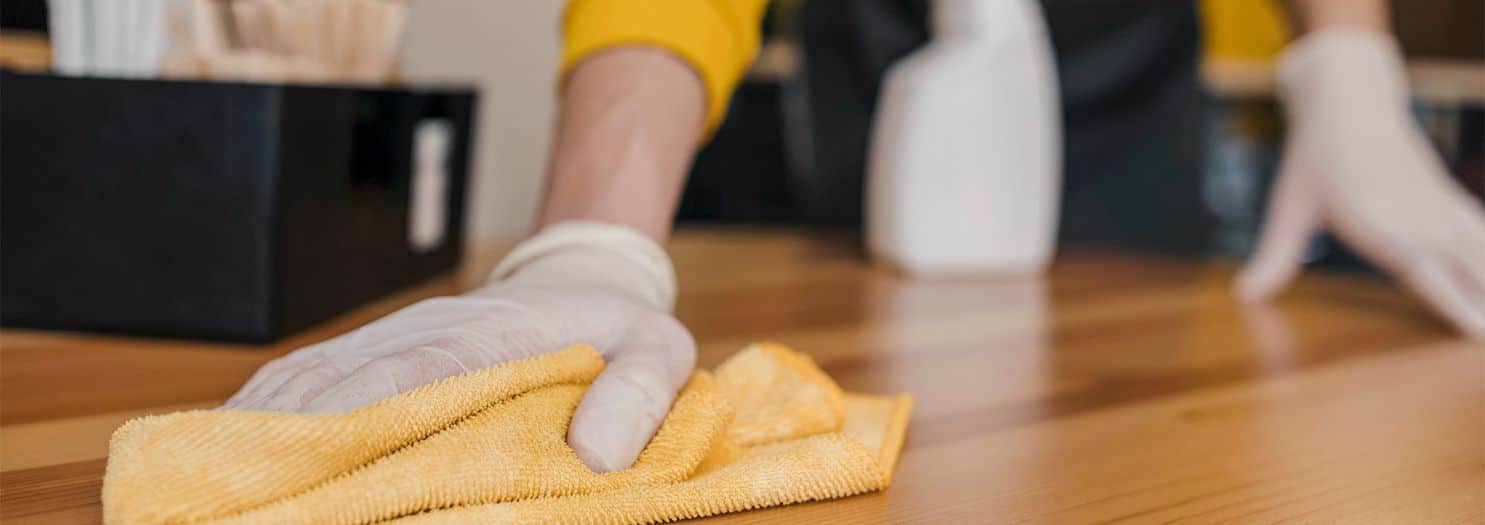
This is the last step of your operation. Cleaning will restore the surface to its original clarity. Use a cloth soaked in alcohol to remove all traces of dirt and grease residue. Prepare for this, a polyurethane foam. However, you should be careful when rubbing. Do it delicately at the risk of damaging the front of the window. After cleaning, it will be necessary to wipe using a clean and dry cloth. You can also add honeycomb rods inside the joints of your window caulking if the space to be filled is at least a quarter of an inch. Otherwise, you will benefit from using a filling material. This rule is especially valid when the window slots are at least 6 mm.
Now you know how to effectively remove old exterior caulking around your windows. So follow these steps for an efficient result. These tips are also valid for removing a cold cut door, a cold cut low door or a window lighter.
FAQs About Changing Window Gasket

Can I just add new caulking on top of the old one?
The idea of simply adding new caulk on top of the old one might seem tempting to save time and effort. However, it is highly recommended that you completely remove the worn caulk before applying the new one. This is because it ensures optimal adhesion of the new caulk and ensures long-lasting performance. When old caulking is left in place, it could compromise the adhesion of the new one, which could lead to cracks and unsealed gaps. By completely removing the old caulk, you create a clean, smooth surface for the application of the new caulk, ensuring effective insulation and better sealing of your windows.
Opting for a new coat of caulking on top of the old one could also lead to aesthetic problems, as imperfections and irregularities in the old caulk could be visible through the new one. In addition, the old caulk could contain dirt, mold or residue that could affect the performance of the new caulk. To ensure optimal results and effective insulation, it is therefore recommended to take the time to remove the old caulk before applying the new one. This will ensure better adhesion, improved aesthetics, and long-lasting performance of your caulked windows.
How do I determine if my window caulking needs to be replaced?
Replacing the caulking on your windows is necessary when you observe signs of wear or tear. This includes cracks, tears, or loss of elasticity of existing caulk. Also, if you feel cold drafts near your windows, it may indicate that the caulking is no longer performing its insulating function effectively. Finally, water or moisture infiltration around windows are obvious signs that the caulking needs to be replaced to avoid insulation and mold problems.
What are the essential tools for removing worn caulk from your windows?
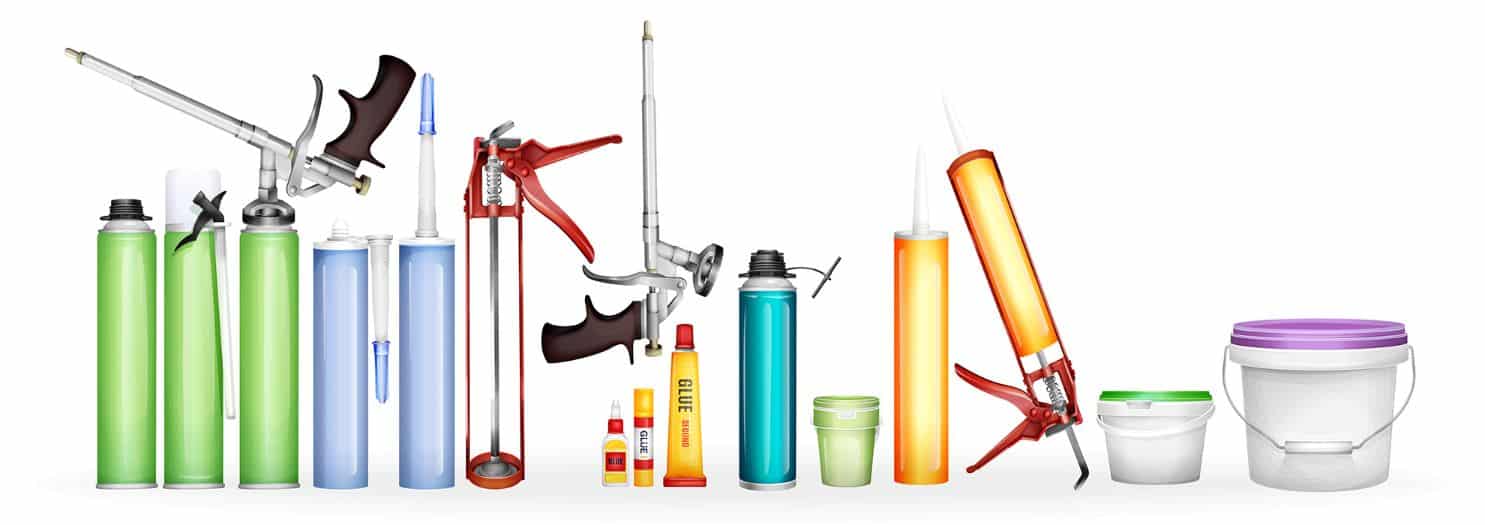
To effectively remove worn caulk, you’ll need a series of tools. Essential tools include a putty knife, welding torch or heat gun to soften the caulk, long-nose pliers to remove residue, a soft plastic or metal scraper to prevent damage to the window surface, and an applicator gun to apply the new caulk.
How do you use a welding torch or heat gun to soften existing caulking?
Using a welding torch or heat gun is an effective method of softening existing caulking. Keep the tool at a safe distance from the window and gently heat the existing caulk until it becomes soft. Be careful not to overheat the caulk, which could damage the window or cause a fire. Once softened, use a putty knife to gently loosen the caulk from the window surface.
How to avoid damaging the window surface when removing caulk?
To prevent damage to the window surface while the caulk is being removed, use a plastic or soft metal scraper, preferably plastic to minimize scratches. Be sure to work carefully, applying gentle and constant pressure to remove caulking residue while preserving the integrity of the window. If you’re using a putty knife, make sure the blade is sharp to minimize the chance of damage.
What steps should be taken to effectively replace the window seal after removing worn caulk?
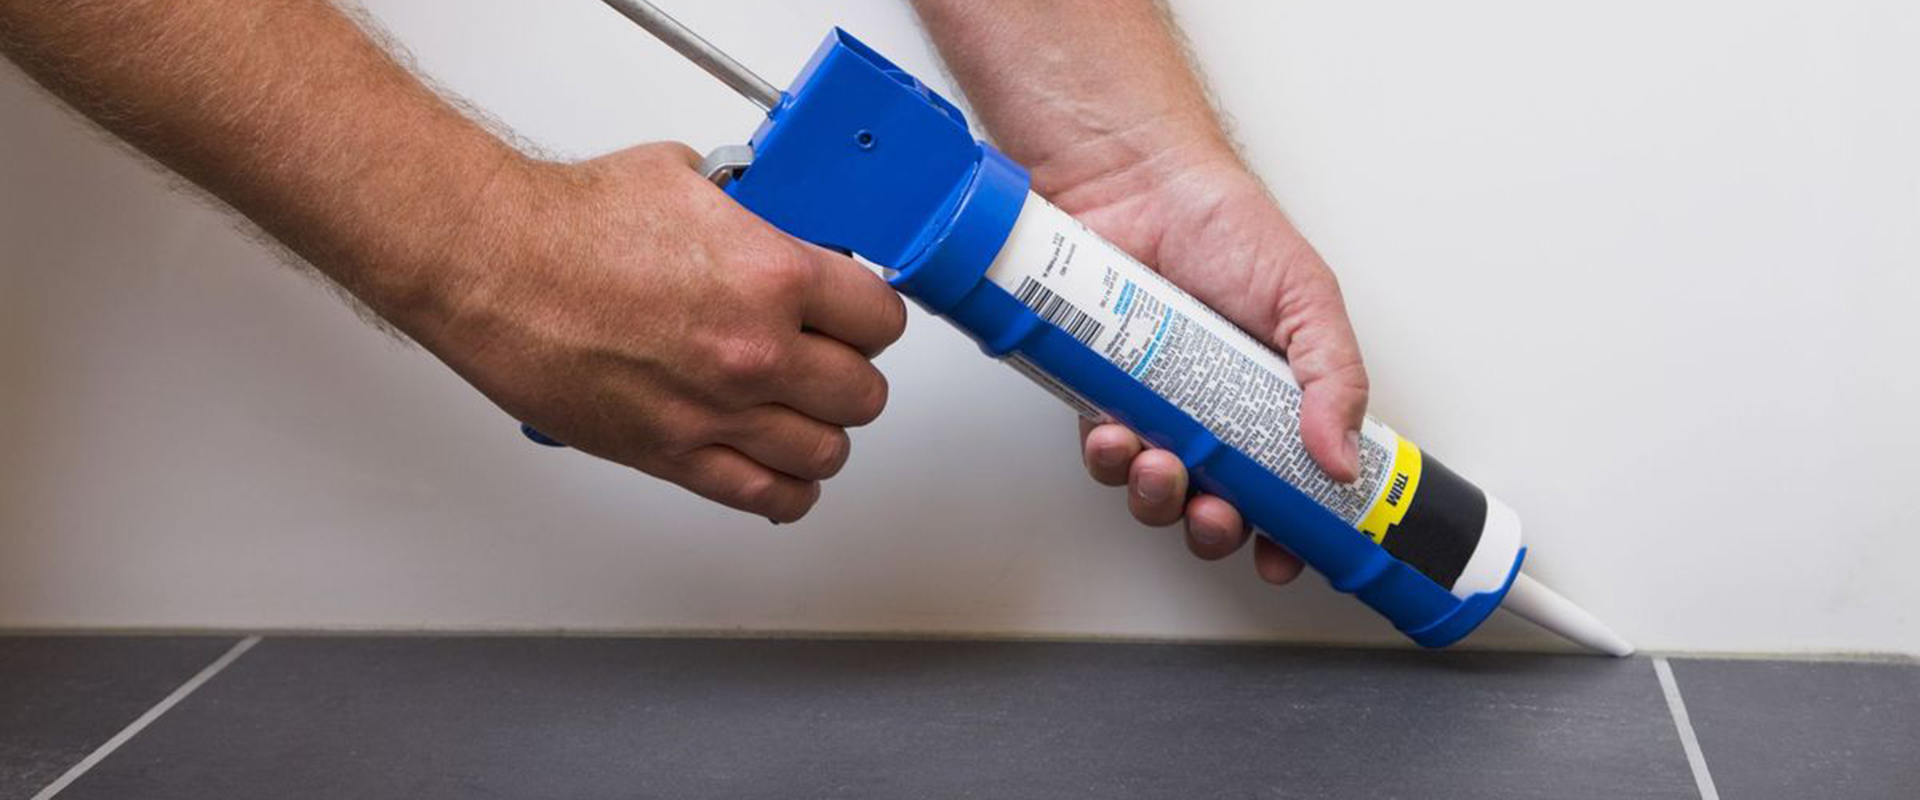
After removing the worn caulk, the first step is to thoroughly clean the window surface to remove any residue from the old caulk. Make sure the surface is clean and dry. Next, prepare the new caulk by inserting the cartridge into the applicator gun. Apply the caulk evenly along the joint, making sure to fill the entire area thoroughly. Once applied, you can smooth out the caulk using a suitable tool or even your slightly dampened finger to achieve a clean finish. Allow the caulk to dry according to the manufacturer’s instructions before testing the effectiveness of the newly caulked window. This ensures effective insulation and protection against unwanted draughts.


